Step-by-Step Mastery: Achieving the Flawless Hand Stitch
Once your tools are gathered and your thread is waxed, the real magic begins. Hand stitching is a process of precision and rhythm. Breaking it down into manageable steps ensures a consistent, professional result.
Preparation: Marking, Skiving, and Gluing
Before the needle touches the leather, proper preparation is essential.
- Marking the Stitch Line: Use a wing divider or a comparable tool to scratch a perfectly parallel guideline along the edge of your leather pieces. This line defines where your stitching will fall and ensures a uniform, professional border.
- Skiving (Optional but Recommended): If you are stitching multiple layers or working with thick leather, skiving (thinning) the edges where the stitch line will pass reduces bulk. This makes the stitching easier and results in a smoother, less bulky final seam.
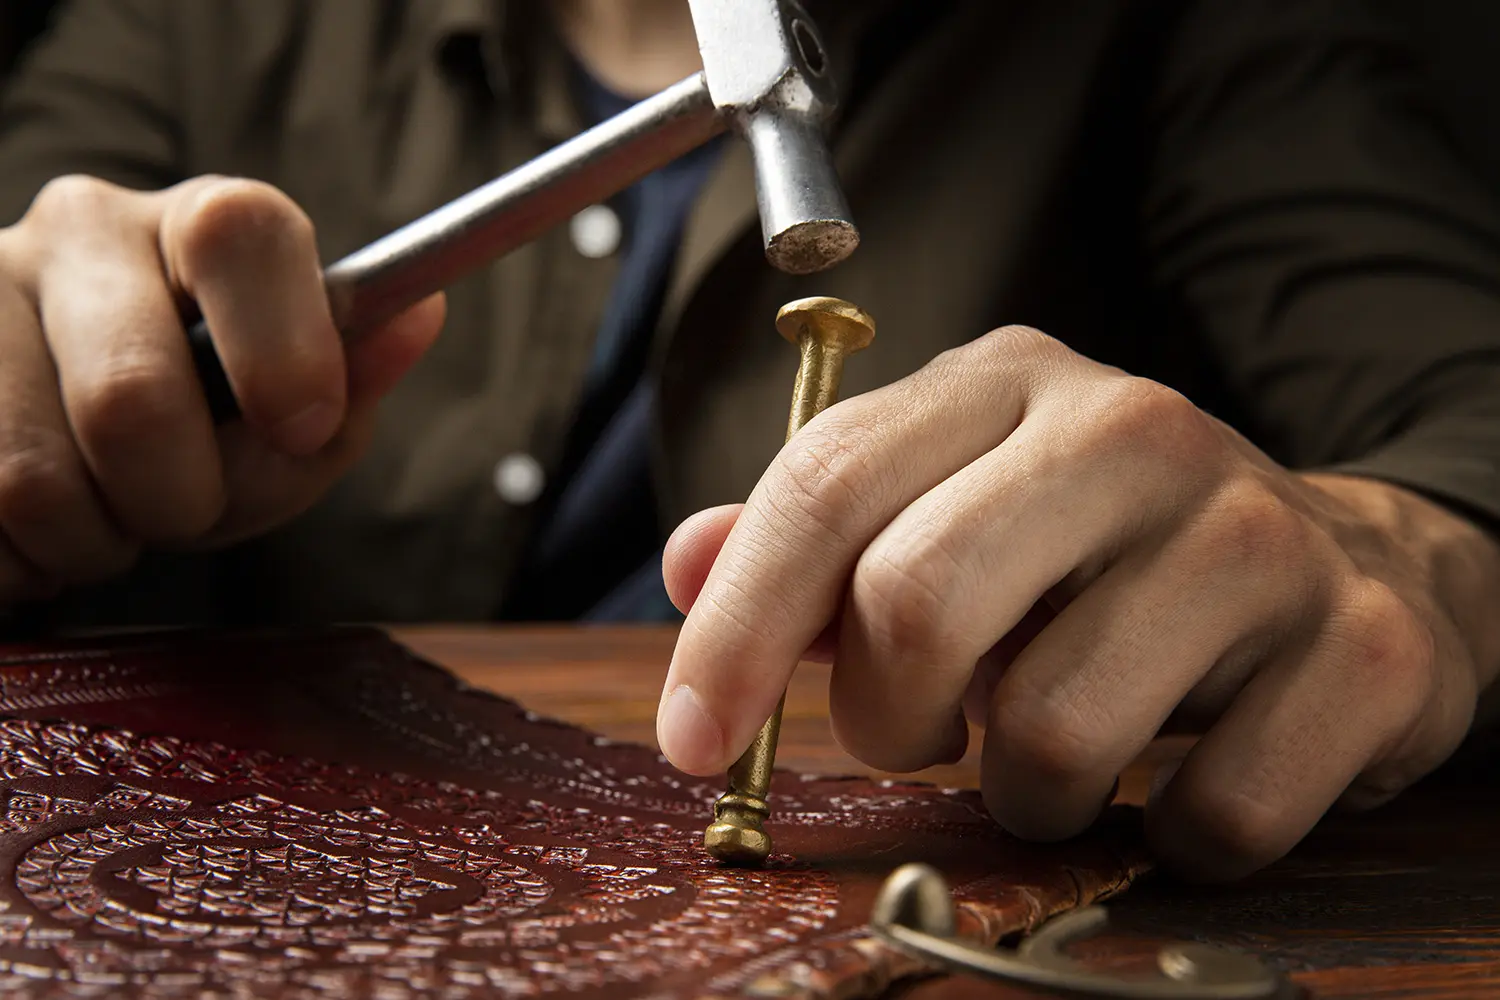
- Temporary Bonding: The pieces must be held firmly together before stitching. Use a specialized leather cement (like contact cement) applied thinly to both mating surfaces. Allow the glue to become tacky, then press the pieces together. This secure temporary bond prevents the layers from shifting during the punching and stitching phases, which is critical for alignment.
The Punching Process: Precision and Angle

The quality of your finished stitch is entirely dependent on the quality of your holes.
- Alignment Check: Place your glued pieces into your stitching pony. Ensure the marked guideline is clearly visible.
- Using the Pricking Iron: Place the teeth of your pricking iron directly on the guideline. Ensure the iron is held perfectly vertical and, crucially, that it is placed perpendicular to the edge of the leather. This angle determines the slant of your final stitches. The first hole is the most important—get it right, and the rest will follow.
- Punching the Holes: Use a mallet (preferably a poly or wooden mallet to protect the tool) to strike the pricking iron. For thick leather, you may only use the iron to mark the holes. Then, follow up with your awl to fully pierce the hole, ensuring the awl is driven straight through, maintaining the diamond orientation set by the iron. This two-step process (mark, then punch) gives you maximum control.
- Consistency is Key: Whether marking or punching, ensure the final row of holes at the end of the seam maintains the same angle and spacing as the rest.
The Technique: Mastering the Two-Needle Saddle Stitch
Now for the heart of the craft—the stitching motion itself. The saddle stitch requires focus and a rhythmic consistency.
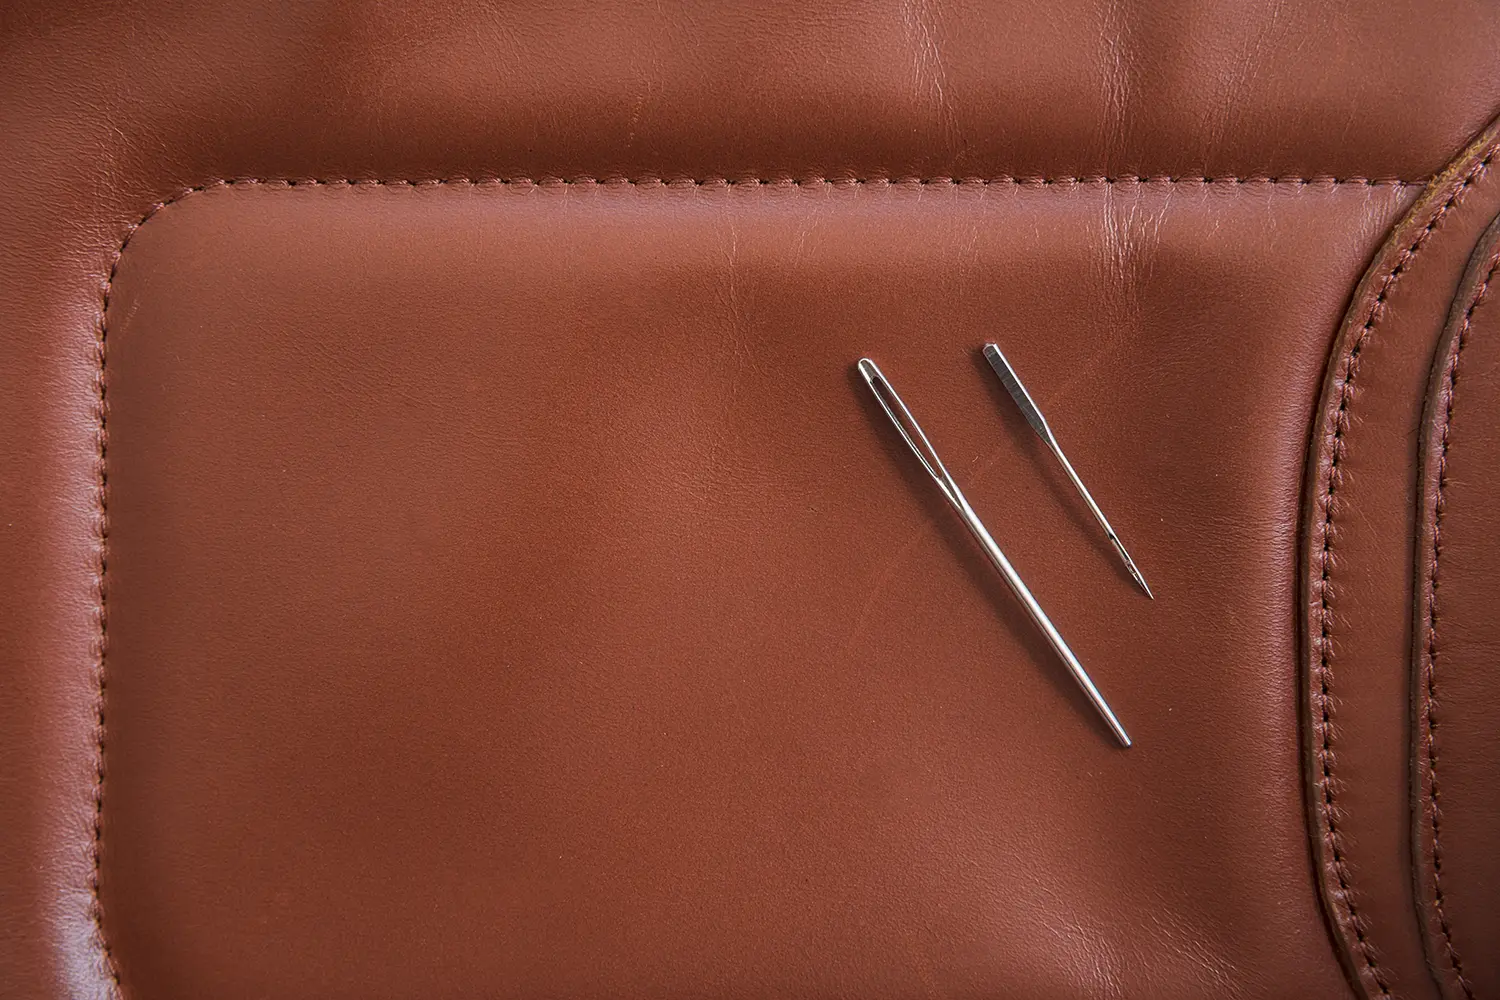
- Threading Up: Cut a length of thread approximately 3.5 to 4 times the length of the seam you are sewing. Load a needle onto each end of the thread using the “lock loop” method to ensure the thread never pulls off the needle.
- Starting the Stitch: Pass the first needle (Needle A) through the first hole. Ensure you have an equal length of thread on both sides of the leather.
- The Two-Needle Dance:
- Pass Needle B through the same hole, pushing it towards the side of the original thread (Needle A).
- Pull both threads gently to set the lock.
- For the next hole, pass Needle A through the hole first.
- Then, pass Needle B through the same hole, ensuring the tip of Needle B consistently passes above or below Needle A’s thread (choose one orientation and stick with it). This consistent placement ensures the threads always lock in the middle, creating that beautiful slant and structural integrity.
- The Pull (Tension): After each stitch, pull both threads firmly and equally. Proper tension is vital; it pulls the threads down into the diamond-shaped hole, forming the characteristic slanted stitch line. Pulling too hard can damage the leather; pulling too lightly results in a loose, weak stitch.
Tension, Angle, and Consistency: The Secrets of the Masters
Achieving true mastery requires attention to three fundamental elements:
- Tension: Consistent, firm pulling of both threads on every single stitch. The perfect tension is when the thread slightly compresses the leather without deforming the edge.
- Angle: Maintaining the perfect 90-degree angle of your pricking iron (and the subsequent awl) relative to the leather edge. This is what makes the stitching look straight and deliberate.
- Consistency: The rhythm of the work should be smooth and repeatable. The way you handle the needles, the placement of the second thread, and the final pull must be identical for the first stitch and the hundredth.
Advanced Techniques for a Professional Finish
A great stitch line is only part of the story; how you finish the seam and the edges elevates a hobbyist project to a professional creation.
Backstitching and Locking Stitches: Ensuring Permanence
When you reach the end of your seam, you cannot simply knot the threads.
- Backstitching: Stitch backwards (in the direction you came from) for two or three holes. This doubles the thread in the last few holes, massively reinforcing the end of the seam and preventing unravelling.
- Trimming and Melting: Pull the threads tight and trim them very close to the leather surface. For synthetic waxed threads (like polyester), use a hot tool or a lighter to gently melt the very end of the thread and immediately press the melted tip flat against the leather with the side of the lighter or a small hammer. This creates an invisible, permanent, and indestructible knot. Never attempt this melting technique with natural linen thread.
The Finishing Touches: Hammering and Waxing
After stitching, the seam often appears slightly raised or “puffy.”
- Hammering the Seam: Gently tap the entire stitch line with a smooth-faced saddler’s hammer. This compresses the leather fibers, settles the threads fully into the holes, and flattens the seam, creating a much cleaner, crisp, and professional look.
Burnishing Edges: Creating a Polished Boundary
The final, essential step to professional leathercraft is the edge finish. A beautifully stitched item with a rough, fuzzy edge is incomplete.
- Trimming and Sanding: Trim the edges flush and sand them to a smooth, even surface. Start with a medium grit (around 180) and progress to a fine grit (around 400 or 600).
- Dampening and Edge Paint: Apply a small amount of water or a specialized edge finish product (like Tokonole) to the edge. If using edge paint, apply it smoothly and let it dry.
- The Burnishing Action: Use a piece of canvas, a wooden slicker, or a powered rotary tool to aggressively rub the treated edge. The friction generates heat, which, when combined with the moisture or finish, compresses the leather fibers until they fuse into a hard, glossy, glass-like seal. This process, known as burnishing, transforms a raw edge into a beautiful, protective boundary that is smooth to the touch and resistant to moisture.
Choosing Your Materials: Pairing Stitching with Leather Type
The best stitching technique in the world is only as good as the materials it binds. Choosing the right thread and pairing it with the appropriate leather weight is a critical decision that impacts both the aesthetics and the longevity of your finished piece.
Waxed Thread Selection: Linen, Polyester, and Nylon
While all threads should be waxed to some degree to aid in water resistance and smooth passage through the leather, the core material matters greatly.
- Waxed Linen Thread: This is the traditionalist’s choice. Linen is a natural fiber that swells slightly when exposed to moisture, which helps to further lock the stitches in place over time. It has a beautiful, slightly fuzzy texture that contributes to the classic “vintage” leather look. The main drawback is that linen is less resistant to UV damage and can rot if exposed to persistent moisture without proper waxing. If you choose linen, ensure it is of high quality and well-waxed.
- Waxed Polyester (Ritza 25/Tiger Thread): This is the modern favorite for its balance of strength, consistency, and durability. Polyester is synthetic, meaning it is highly resistant to UV, rot, and abrasion. It lays flat, offers a very clean, crisp look, and comes in a huge array of vibrant colors. Its slightly flat structure helps it fill the diamond-shaped holes beautifully, providing superior visual appeal and strength.
- Nylon Thread: While strong, nylon tends to have more stretch than linen or polyester. This elasticity can sometimes compromise the consistency of your tension, making it slightly harder to achieve perfectly uniform stitches. It’s often used in machine stitching but less commonly favored for detailed hand stitching.
The key is selecting a thread that is thick enough to fill your hole size (determined by your pricking iron’s SPI or Stitches Per Inch). A good rule of thumb: thinner leather and high SPI require thinner thread; thick leather and low SPI require thicker thread.
Stitch Spacing and Leather Weight
The weight and type of leather you are working with must dictate your stitching approach.
- Wallet-Weight Leather (3-5 oz / 1.2–2.0 mm): For these delicate, detailed items, you want an elegant, fine stitch. Use a high SPI (8 or 9 SPI) pricking iron and a correspondingly thin thread (e.g., 0.6mm or 0.8mm). This results in small, tight stitches that complement the thin profile of the leather.
- Bag and Belt-Weight Leather (6-10 oz / 2.4–4.0 mm): For items requiring heavy duty strength, you need wider stitching that can accommodate the leather’s bulk. Use a lower SPI (5 or 6 SPI) and a thicker thread (e.g., 1.0mm or 1.2mm). The wider spacing ensures that the holes don’t get too close to the edge, which could weaken the leather’s tear resistance.
Understanding this symbiotic relationship between material and tool spacing is the final piece of the puzzle in creating leather goods that are not only beautiful but structurally sound for decades of use.
Conclusion: The Investment of Time, The Reward of Legacy
We’ve journeyed through the entire process of hand stitching leather, from selecting the indispensable stitching pony to mastering the two-needle dance of the saddle stitch, and finally, achieving the glassy perfection of a burnished edge.
Hand stitching is not a shortcut. It is an intentional slowing down. In a world of fast fashion and disposable goods, the few hours (or days) spent meticulously sewing a single piece of leather goods is a philosophy—a commitment to quality over speed.
The slight slant, the uniform tension, the feel of the dense thread—these are the subtle but powerful indicators of a product built to last a lifetime. Every stitch tells a story of the artisan’s dedication and skill.
If you are just beginning, embrace the process. Your first few seams might be messy, but the rhythm will come, and your tension will equalize. Practice on scrap leather, refine your tools, and remember why the saddle stitch has endured for centuries: it simply creates the strongest, most beautiful leather seam possible.
By mastering the art of hand stitching, you aren’t just making a wallet or a bag; you are creating a legacy. You are ensuring that the item you craft today will be admired, used, and passed down to future generations—a true testament to the timeless mastery of the needle and thread.